How Do I Swap Classes?
Introduction
Note: Your screen may look different from the screenshots in this article.
The Swap Classes feature in my.SDSU allows you to swap an existing enrolled class in your schedule with another class that better fits your academic goal, availability, or subject interest. This guide will take you through the process of replacing a class on your schedule with a different class.
Note: Please refer to the academic calendar for add/drop deadlines. All changes to your schedule must be done by the Schedule Adjustment Deadline.
Note: Remember that the class you will be swapping out will be dropped from your schedule.
Instructions
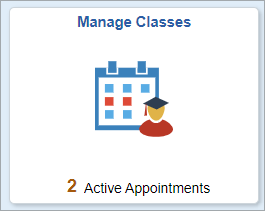
- On the my.SDSU Homepage, select the Manage Classes tile.
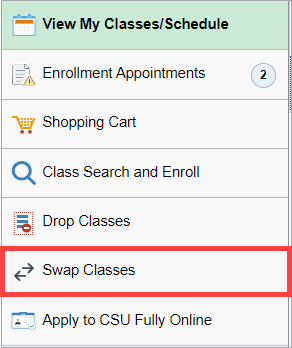
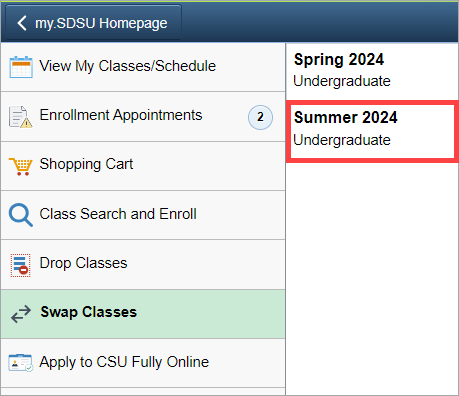
- On the left side menu, select Swap Classes.

- Select the term.
- On the Swap Classes page under Swap This Class, select the class you would like to drop under from the Select from your schedule drop-down menu.
Under With This Class, select the class you would like to add. If you do not know which class you would like to add, select Class Search from the Search for Classes drop-down menu. If you know the Class Number of the class you would like to add, enter it in the Enter Class Number field.
When you have finished, select Search.
If you selected Class Search, proceed to step 5. If you selected Class Number, proceed to step 6.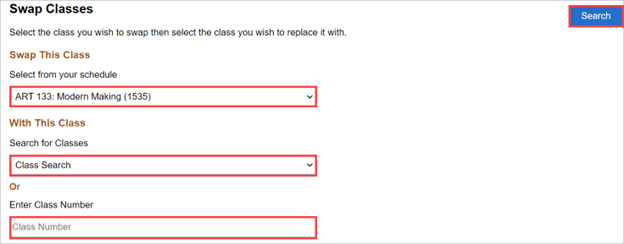
- If you selected Class Search, you will be prompted to search for the class you would like to add. Before searching for a class, please filter your results by Campus. Please see the class search and enroll guide for instructions on how to search for and filter classes. Select the course you would like to add to continue.
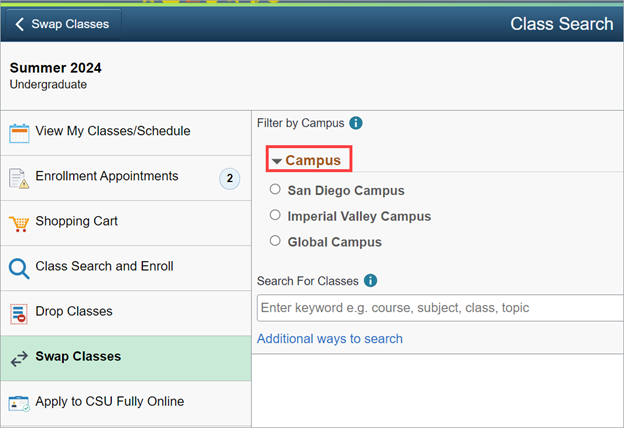
- You will be directed to the Course Information page. Select the white box around the course to continue.

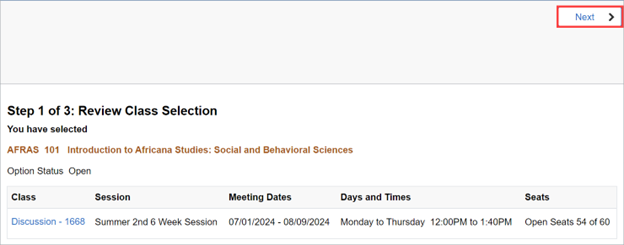
- You will be prompted to review your class selection. Select Next to continue.
- You will be prompted to review your class preferences. Next to Add to waitlist if Class is full?, you will see a Yes/No toggle. Select Yes or No depending on your preference. Select Accept to continue.

- You will be prompted to confirm your class swap. Once you have reviewed, select Submit.
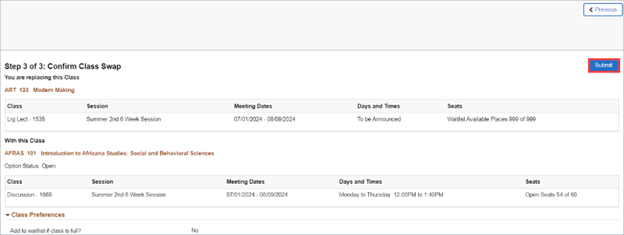 Open the image full screen.
 - You will see a pop-up menu that says Are you sure you want to submit? Select Yes to continue.

If the swap was successful, you will see a Confirmation page saying that the new class has been added to your schedule.
If the swap was not successful, you will see an error message with the reason the class was not added to your schedule. Some reasons the swap was not successful may include:
- The new class is not on your home campus.
- The new class conflicts with another class on your schedule. If you drop the class that conflicts with the new class, you can try the swap again and it should be successful.
- The new class requires Student Specific Permissions and the instructor has not added your EmplID to the list of students permitted to take the class. Contact the course instructor if you need to obtain Student Specific Permission to take the class.
- You have not met the prerequisites for the new class.
 Open the image full screen.
