How Do I Manage Student Groups?
July 1, 2026
Introduction
Note: Your screen may look different from the screenshots in this guide.Student Groups are used to track and manage students in different categories, such as athletes, honor students, or student body officers. Access for staff to maintain student groups depends on their campus role.
This guide will demonstrate how a staff member can activate or inactivate a student in an individual student group. If you would like to activate ot inactivate large numbers of students in bulk, please submit the ERP Systems Request Form.
Instructions
Activate a Student in a Student Group
- Navigate to the Records and Enrollment> Career and Program Information> Student Groups page. Enter the student's ID and Search.

- Click on the ( + ) icon to add a new row and Save.

Note: if the student is currently inactive in an assigned Student Group, and needs to be activated, click on the ( + ) icon to add a new effective dated row for that specific student group, and follow the instructions as outlined below in step 5.
- On the newly added row, Search and Select the required Student Group.
Note: You will only see Student Groups that you have access to manage. If you need access to a Student Group that you do not currently have access to, please complete the Access Request Form.
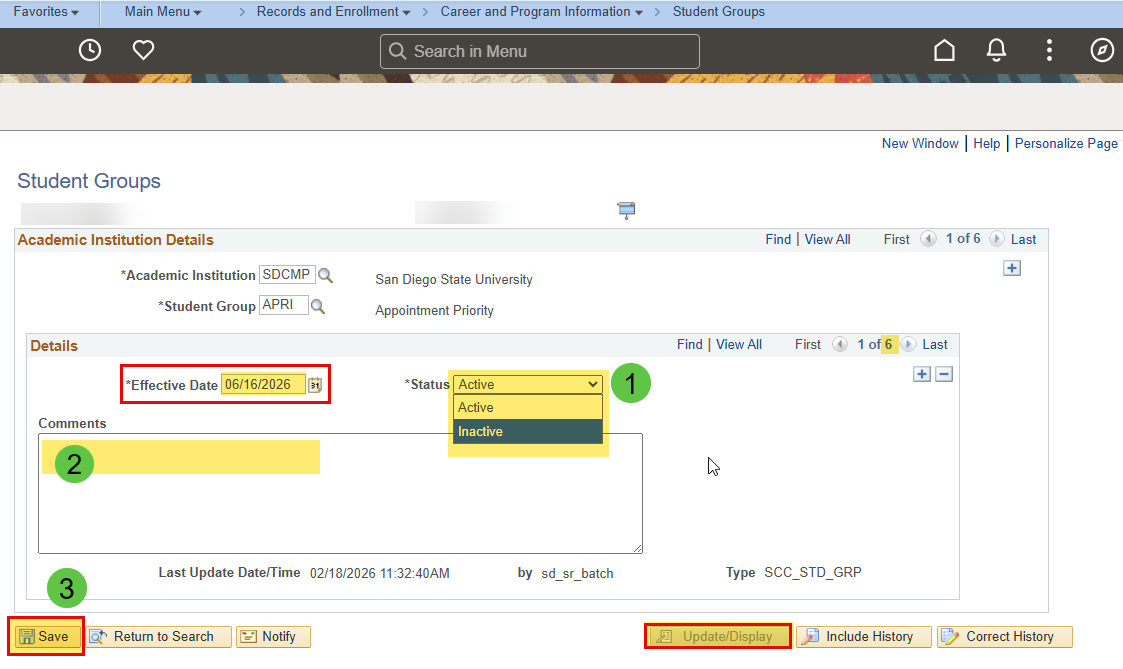
- Check you have selected the appropriate new student group and the status is set to Active. The effective date is typically the date of the action, or it can be effective as of a future date. Save.

- Confirm the details of the new student group. The newly added student group displays the student group details including the effective date and name of the individual who manually completed the transaction.

Inactivate a Student in a Student Group
- Navigate to the Records and Enrollment> Career and Program Information> Student Groups page. Enter the student's ID and Search.
- Find the appropriate student group using the View All option or the numbered rows.

- Click on the ( + ) icon to add a new row (of history) on the identified student group.

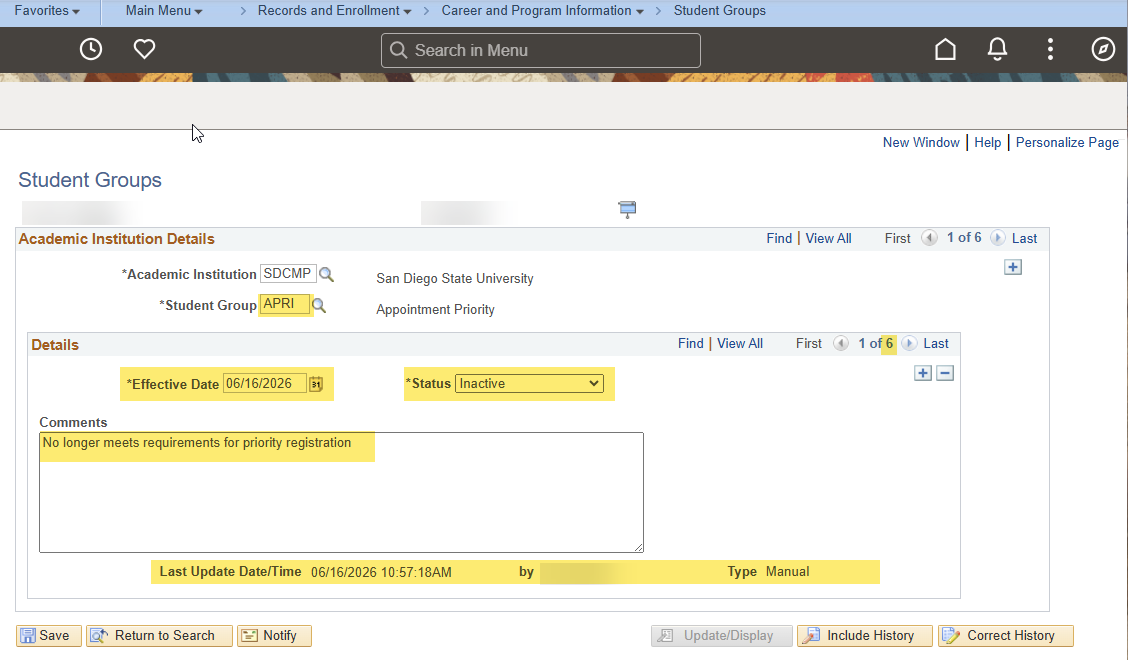
- Confirm the effective date (to inactivate the student group) and change the status from Active to Inactive. Include Comments and Save.
- Confirm the details of the updated student group. The updated new row displays the Inactive status of the student group including the effective date and name of the individual who manually completed the transaction.